Transforming Your Home Surfaces: A Guide to Painting Timber, Weatherboards and More
Repainting can dramatically transform the appearance of your home’s surfaces, from timber and weatherboards to skirting boards and more. Whether looking for a modern makeover or refurbishing an older home, a fresh coat of paint can make all the difference!
This guide will explain the essential steps and considerations for painting different home surfaces to achieve professional-looking results.
Preparing for the project
Before you begin, always remember that proper preparation is key! To ensure a smooth and durable finish, it’s important to paint clean surfaces. Painting over dirty or oily surfaces can cause the paint to chip or peel easily. So, take the time to prep your surfaces properly for the best results! Here’s how to do it:
Inspect and clean thoroughly
Inspect your surfaces and ceiling for mould, grime, dirt, dust or other contaminants. Pay special attention to hidden spots and use a flashlight to hunt down any mould lurking in crevices or corners. If there’s any, scrape off loose or flaking paint with a paint scraper or putty knife.
Clean thoroughly with a suitable cleaner—mix water with mild detergent for general grime. Step up your game with a stronger cleaner like TSP (trisodium phosphate) for stubborn stains or greasy areas. Rinse everything with clean water to wash away any soap residue, and let the surface dry fully. This meticulous cleaning ensures a pristine base to which your paint can adhere perfectly.
Detach hardware for a clean finish
Take off any hardware like handles, knobs, and hinges using a screwdriver. Removing these elements will prevent them from getting painted and result in a cleaner, more professional finish.
Store the hardware safely in labelled bags or containers so you can easily reattach them later. This step helps to avoid masking around these areas, which can be time-consuming and less precise.
Sand for a smooth surface
Lightly sand the surface to smooth out rough spots and create a slightly abrasive surface to adhere to for the primer and paint. Use fine sandpaper for general sanding.
For previously painted surfaces and boards, sanding helps to remove any gloss and roughens the surface, improving adhesion. Always sand in the direction of the grain for wooden surfaces to avoid scratches. After sanding, make sure to wipe away any dust using a damp cloth or tack cloth.
Apply a quality primer
Use an appropriate primer to seal, cover stains, and provide a uniform base for painting. For timber surfaces, use a wood primer to prevent tannins from bleeding through, and for exterior surfaces, choose a primer designed for outdoor use. Ensure the primer is completely dry before applying the paint.
Test the surface before full application
Before painting, do a small patch test first to check if the paint adheres well. Apply the paint to a small, inconspicuous area and let it dry completely. Check for issues such as peeling, bubbling, or poor coverage. This step lets you catch and address problems early, ensuring a smooth and successful painting project.
Tools and equipment needed
Here’s a list of the essential tools and equipment to tackle your painting project confidently. Be sure to add these to your painting checklist!
- Paintbrushes of various sizes
- Rollers and roller covers
- Painter’s tape
- Drop cloths
- Sandpaper and sanding blocks
- Primer
- Paint trays and liners
- Ladder (for high areas)
- Putty knife and filler (for repairing holes and cracks)
- Paint
Selecting the right paint
Choosing the correct paint is important for achieving a high-quality finish. Here are some of the factors you should consider:
- Surface type compatibility: Consider the surface you’re painting and choose a paint specifically formulated for that surface for optimal adhesion and durability.
- Location and environment: Consider where the painted surface will be located. Exterior paints must withstand harsh weather conditions like UV exposure and moisture, while interior paints should be resistant to stains and easy to clean.
- Colour and finish: Select a paint colour and finish that complements your space and desired aesthetic. Matte and eggshell finishes are ideal for walls, while gloss and semi-gloss finishes are suitable for trims and high-traffic areas due to their durability and ease of cleaning.
- Environmental impact and safety: Consider the environmental impact and safety of the paint you choose. Look for low-VOC (volatile organic compound) or zero-VOC paints to minimise harmful emissions and promote better indoor air quality. You may also opt for paints with low odour for a more pleasant painting experience.
- Budget and coverage: Determine your budget for the project and choose a paint that offers good coverage and value for money. Higher-quality paints may cost more initially but can save you money in the long run due to their durability and coverage.
Painting timber surfaces
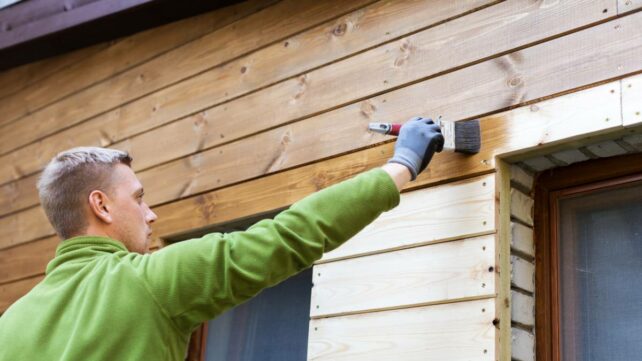
When painting timber surfaces like fences, doors, window frames, and furniture, focus on preserving the wood’s natural beauty. Consider using a wood conditioner before painting to enhance the grain and ensure uniform paint absorption.
To maintain the natural texture and achieve a seamless finish, apply thin, even coats in the direction of the wood grain. Consider adding a clear polyurethane topcoat for added protection and durability.
Painting weatherboards and cladding
Weatherboards and cladding require durable and weather-resistant paint to withstand harsh outdoor conditions. Before painting, inspect the surface for any signs of damage, such as rot or decay, and address them before proceeding with the painting process.
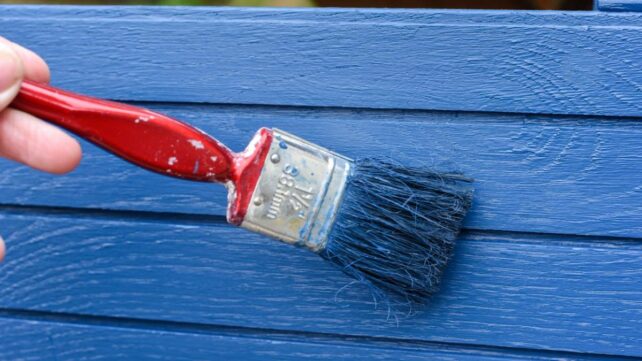
Applying an elastomeric paint that forms a flexible, waterproof membrane can protect it against moisture infiltration and cracking. Use a brush to control paint application and to reach tight spaces, or a paint roller for a more efficient job and smoother surface.
Painting skirting boards and trim
Paint skirting boards, architraves, and other trims to provide architectural detail and visual interest to a room. Contrasting colours to the walls or choosing a shade that complements the overall colour scheme of the space can help make them stand out.
When painting intricate trim work, use painter’s tape to create clean, crisp lines and prevent paint bleed. Prepare skirting boards and trim for a professional-looking finish by sanding them lightly between coats to smooth out any brush marks or imperfections. Experiment with different paint application techniques, such as stippling or dragging, to add texture and depth to the trim.
Painting Villaboard and cement sheets
Villaboard and other cement sheets, commonly used in wet areas like bathrooms and kitchens, are often painted with a specialised primer and paint with mould—and mildew-resistant properties.
Use a brush or roller for smooth surfaces, applying thin, even coats in a crisscross pattern to ensure optimal coverage. How many coats to apply depends on you, but be sure to allow the first coat to dry completely before you apply a second coat. Consider adding a clear acrylic topcoat for added protection against moisture and wear.
Painting pebblecrete
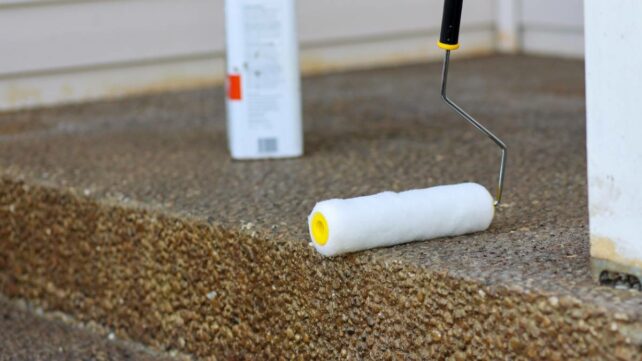
Pebblecrete, with its textured concrete surface commonly found in outdoor areas like driveways and pool surrounds, often requires a stiff brush or pressure washer to ensure deep cleaning before painting. Here are some helpful tips to know when painting pebblecrete:
- Use a concrete primer to improve paint adhesion and durability. Choose an exterior acrylic or latex paint made for concrete, with UV protection to withstand outdoor conditions.
- Use brushes or rollers with longer fibres when painting over pebblecrete to penetrate the crevices and ensure complete coverage.
- Apply the paint in multiple thin coats rather than a single thick coat to prevent pooling and achieve a uniform finish.
- Allow each coat to dry thoroughly before applying subsequent layers, and consider adding a clear sealer for added protection against weathering and UV damage.
Painting walls and ceilings
When choosing wall and ceiling paint for your room, consider the lighting conditions and the atmosphere. Lighter wall colours can make a space feel larger and more open, while darker colours create a cosy and intimate atmosphere. Additionally, painting ceilings and walls the same colour can make your room appear bigger, whilst using two contrasting colours adds an accent and visual focal point to your home.
Use high-quality paint with a built-in primer and smooth consistency to minimise visible brush strokes and roller marks. When cutting in around edges and corners, hold the brush at a slight angle and use long, steady strokes for clean lines. For ceilings, use a flat or matte finish to minimise glare and hide imperfections.
Remember to allow the paint to dry completely between coats, and consider using a paint additive to extend drying time in hot or humid conditions.
Transform your home with fresh paint
Repainting your home’s surfaces can provide a fresh, updated look that breathes new life into your space. By following the steps outlined in this guide, you can achieve professional results and enjoy the satisfaction of a well-done job.
Consulting a professional painter or renovator can help you achieve the best outcome if you’re unsure about any part of the process. Happy painting!
FAQs on painting home surfaces
Is it OK to spray paint the exterior of a house?
Absolutely! Spray painting is the most efficient way to cover large surfaces, such as exterior walls, where perfection is not required. On the other hand, rolling paint is great for interior walls since it allows for a more controlled application without excess paint spatter or overspray on adjacent surfaces. Consider these factors when deciding whether to use a spray gun or paint roller.
What is the correct order to paint a room?
Rules for painting ceilings and walls in a room generally say that it’s best to start with the ceiling, the walls, and then the skirting boards and trim. This order minimises the risk of paint drips or splatters from the ceiling or walls onto freshly painted surfaces below.
Once the ceiling and walls are done, you can paint the trim, such as baseboards, door frames, and window frames, which typically require more precision and detail work.
When painting a room in two colours, which wall should be darker?
When painting walls with different colours in the same room, consider painting the focal or accent wall a darker shade. This approach creates depth and visual interest, highlighting key features like a fireplace or artwork. Alternatively, you can paint the walls surrounding architectural features or focal points darker to frame and highlight them.


